Two-Tone Ribbed Crochet Hat Free Pattern
Two-Tone Ribbed Crochet Hat Free Pattern
Introduction
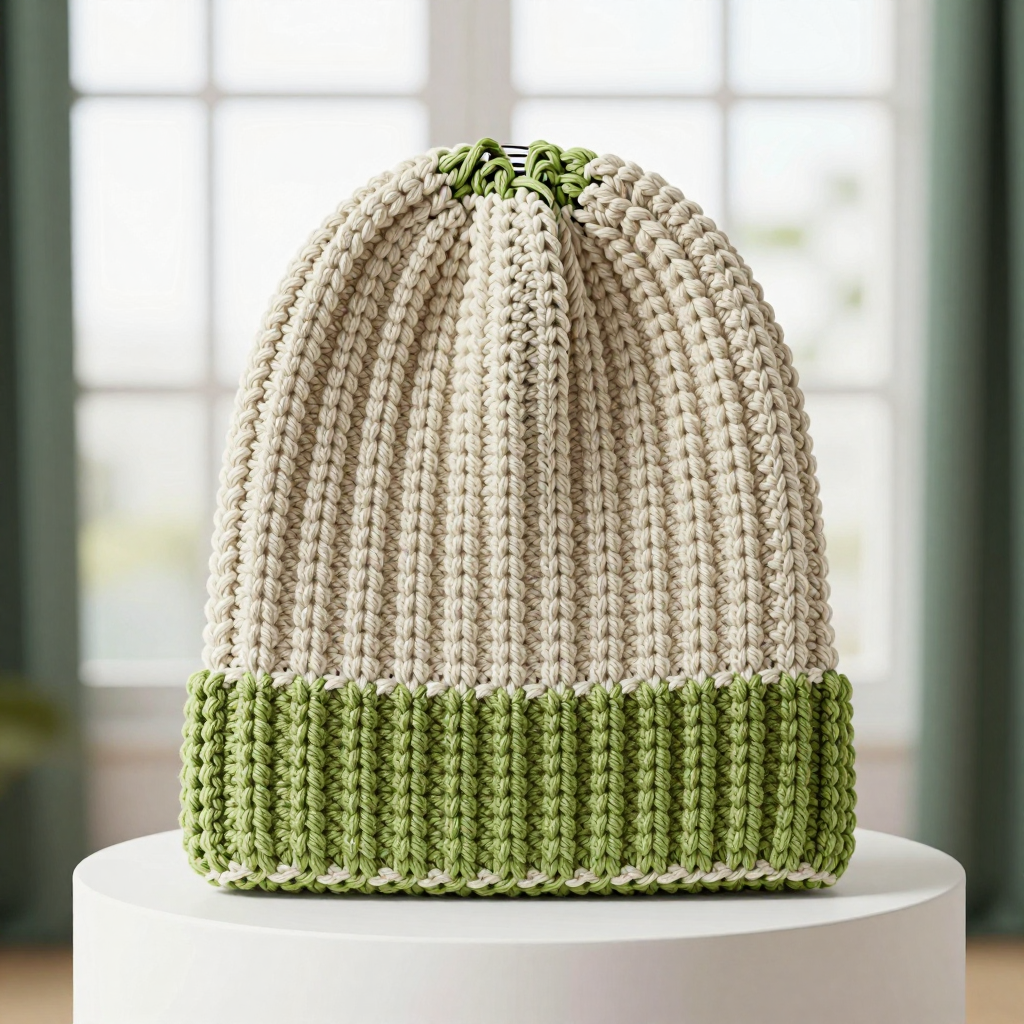
This two-tone ribbed hat is the perfect next step for anyone who has mastered single crochet and wants a project that looks polished without being fussy. It is worked flat as one simple rectangle, then seamed into a tube, so there is no working in the round and no complicated shaping to worry about. The bottom half is one color and the top half another, giving it a clean, modern, color-block look that suits everyone from teens to grandparents. The back-loop ribbing makes it stretchy and squishy, while the plain single crochet edging keeps the brim neat and tidy. It is quick, satisfying, and a great way to use up two partial skeins.
Materials Needed
- Yarn: DK weight (category 3), acrylic or wool blend. 200 yds total: 100 yds color A (top half) and 100 yds color B (bottom half).
- Hook: 5.0 mm (US H-8).
- Notions: Tapestry needle, scissors, stitch marker (optional), measuring tape.
- Finished size: Fits a head circumference of 20–22 inches. The hat measures approximately 18 inches around (unstretched) and 8.5 inches tall.
Abbreviations
- ch – chain: make a loop of yarn and pull it through the loop on your hook.
- sc – single crochet: insert hook, yarn over, pull up a loop, yarn over, pull through both loops.
- blo – back loop only: work into the loop of the stitch farthest from you.
- sl st – slip stitch: insert hook, yarn over, pull through both the stitch and the loop on your hook.
- st(s) – stitch(es).
Gauge
16 stitches and 14 rows = 4 inches in the ribbed pattern (single crochet in the back loop only). To check, crochet a small swatch in back-loop single crochet and measure a 4-inch section; adjust your hook size if needed to match.
Tips Before You Start
- Work your back-loop single crochet a little loosely so the ribbing stays stretchy and the hat fits comfortably.
- Keep your turning chain tight and do not count it as a stitch, so your stitch count stays at 34 every row.
- Change colors at the end of Row 15 by finishing the last stitch with color A, so the color change sits cleanly on the edge.
- Leave a generous tail (about 20 inches) when you fasten off color A, since you will use it for the gathering at the crown.
Step-by-Step Instructions
Rectangle (worked flat in ribbing)
Row 1: With color B, ch 35. Sc in the 2nd ch from hook and in each ch across (34 sts).
Row 2: Ch 1, turn, sc in blo of each st across (34 sts).
Rows 3–15: Repeat Row 2 (34 sts).
Row 16: Change to color A. Ch 1, turn, sc in blo of each st across (34 sts).
Rows 17–30: Repeat Row 2 (34 sts).
Fasten off, leaving a long tail for seaming.
Assembly (seaming the tube)
Fold the rectangle in half widthwise with the short ends together and right sides facing. Using the long tail and a tapestry needle, whipstitch (or slip stitch) the short edges together to form a tube. Turn the tube right side out.
Top Shaping (crown gathering)
With color A threaded on a tapestry needle, run a gathering stitch through the top edge of the tube all the way around. Pull the thread tight to close the top, then secure with a few small stitches and fasten off.
Bottom Edging
Rnd 1: With color B, join yarn at the bottom edge, ch 1, and work 1 sc evenly around the bottom edge (approx. 60 sts). Join with a sl st to the first sc. Fasten off.
Assembly and Finishing
Weave in all ends on the inside of the hat, working them through a few stitches to secure. Gently block the hat by misting it lightly with water and smoothing it into shape on a flat surface or over a bowl, then let it dry completely. This helps even out the ribbing and the color-change edge.
Pro Tips and Variations
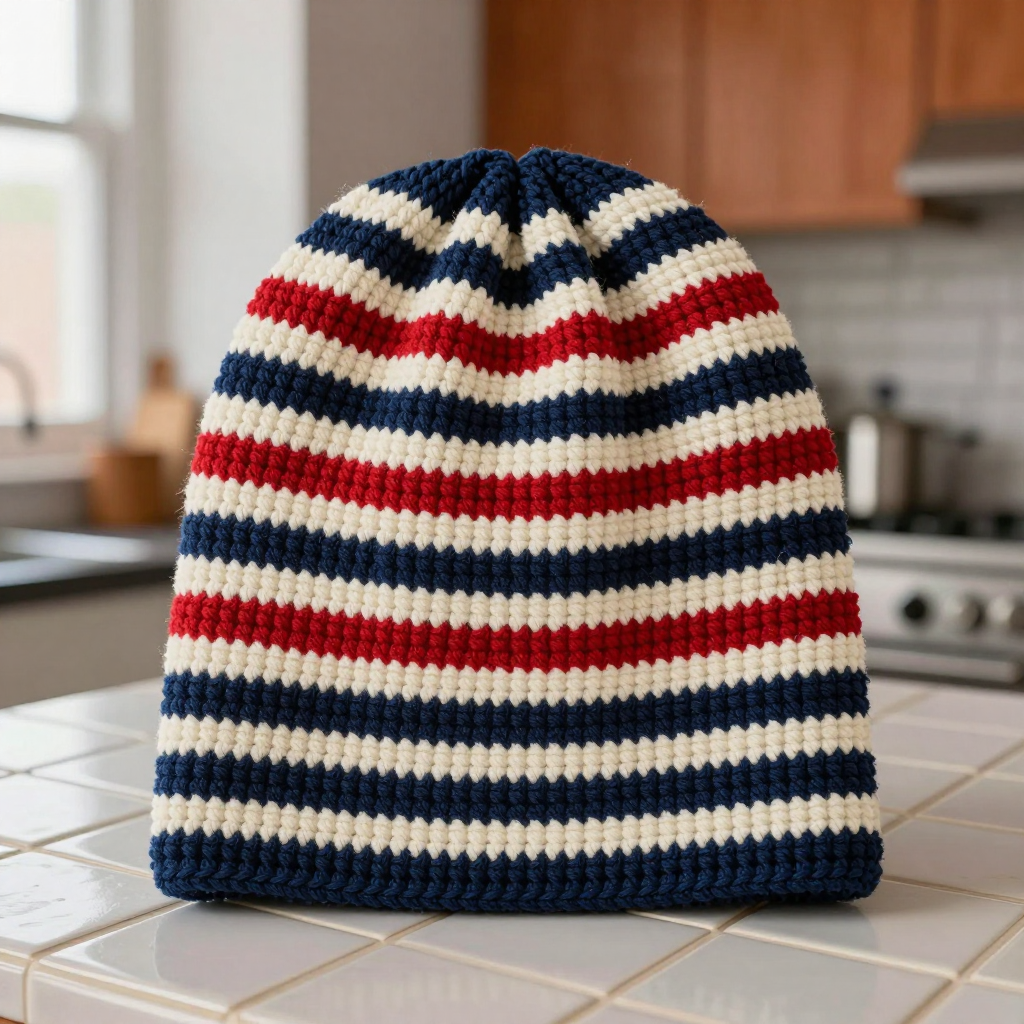
- Swap the color-block for stripes by changing color every 5 rows for a playful look.
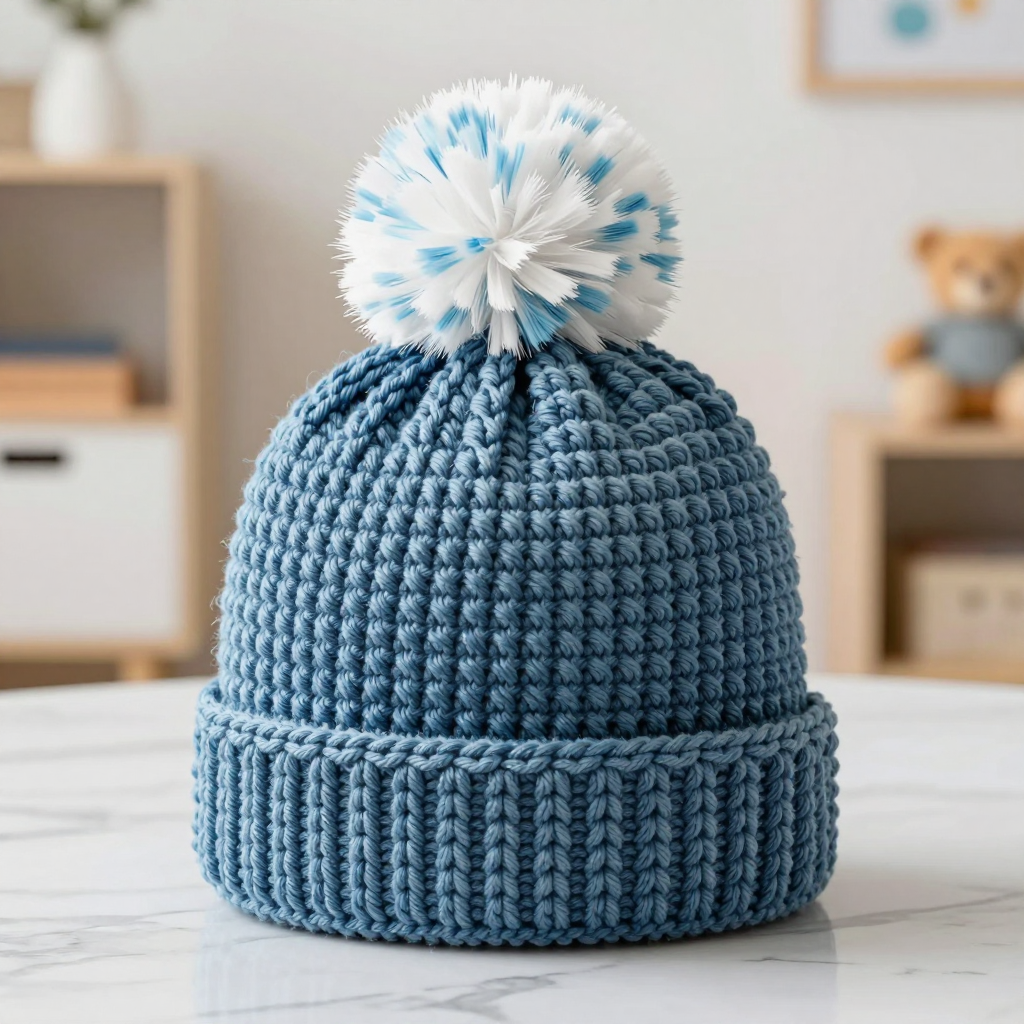
- Add a faux fur or yarn pom-pom to the gathered crown for a cozy winter version.
- Use a contrasting color for the bottom edging round to frame the brim with a thin accent stripe.