Sage and Cream Earflap Hat Free Crochet Pattern

Sage and Cream Earflap Hat Free Crochet Pattern
Introduction
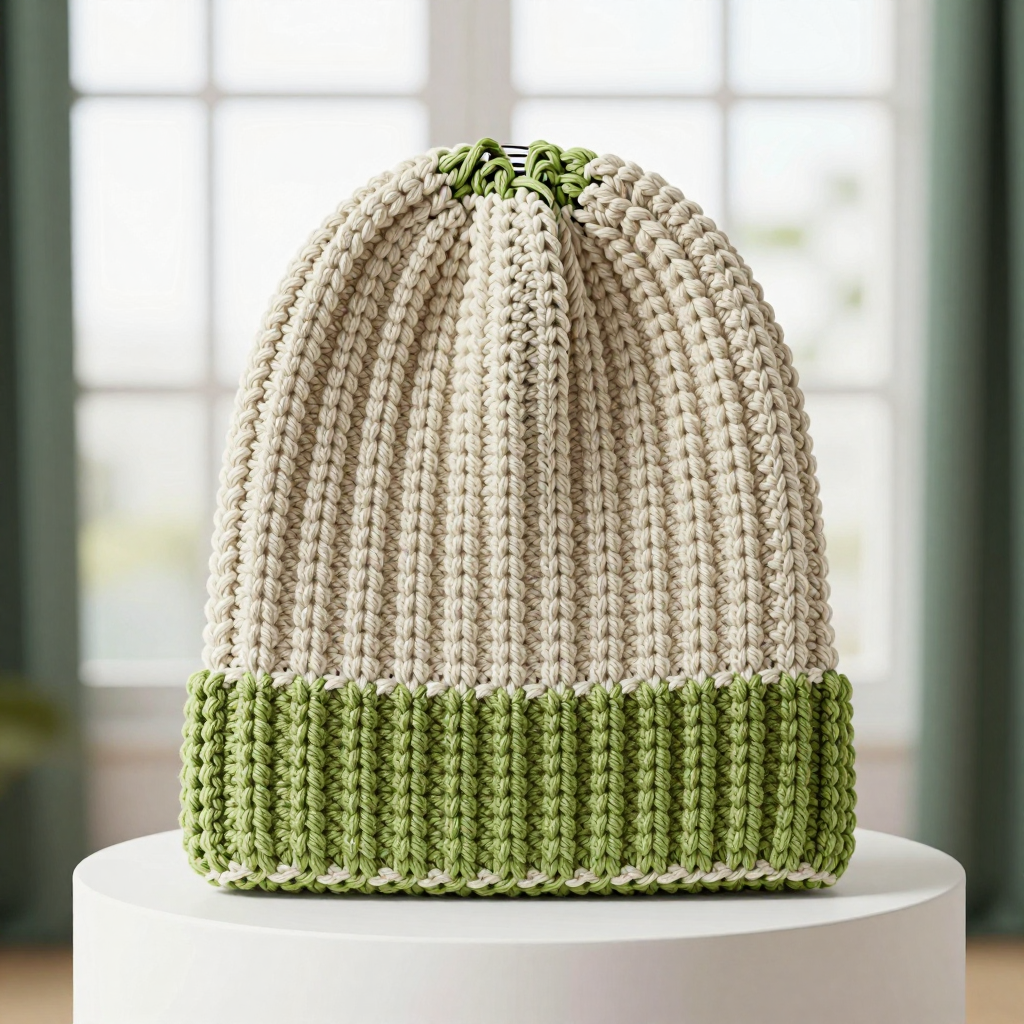
This sage and cream earflap hat is a cozy, beginner-friendly project that looks far more intricate than it is. It is worked top-down in the waistcoat stitch, a simple single crochet variation that creates a dense, knit-look fabric with beautiful vertical texture. The repeating sage-and-cream stripes give it a relaxed bohemian feel, while the two small earflaps and braided ties keep it practical and warm on chilly days. It is unisex, sized for adults and teens, and makes a wonderful gift or a quick weekend make for yourself.
Materials Needed
- Yarn: Worsted (4) weight acrylic or wool blend. Color A (sage green): approx 130 yd. Color B (cream): approx 60 yd.
- Hook: 5.5 mm (I/9) crochet hook
- Notions: Stitch marker, tapestry needle, scissors
- Finished size: Adult/teen, circumference 52 cm (20.5"), height 21 cm (8.25") excluding earflaps; earflaps 7 cm (2.75") deep
Abbreviations
- st / sts: stitch / stitches
- wsc: waistcoat stitch — a single crochet worked into the center V of the stitch below
- sc: single crochet
- inc: increase — work 2 wsc into the same stitch
- dec: decrease — work 2 stitches together into one
- ch: chain
- rnd: round
- MR: magic ring
- RS: right side
Gauge
14 sts and 13 rows in waistcoat stitch (sc worked into the center of the stitch below) = 10 cm x 10 cm (4" x 4"). Work a small swatch in the round and measure it before starting to be sure your hat comes out to size.
Tips Before You Start
- The waistcoat stitch is worked into the center V of the stitch below rather than under both loops — keep your tension relaxed or the fabric will stiffen and the hook will fight you.
- Work in a continuous spiral and move your stitch marker up each round; do not join or turn unless the pattern says so.
- Carry the unused color loosely up the inside of the hat, or fasten off and rejoin if you prefer a cleaner inside.
- Count your crown increases carefully — every increase round adds 8 stitches, so you should land on exactly 72 stitches after Round 9.
Step-by-Step Instructions
Crown (Color A)
Rnd 1: MR, 8 wsc into ring (8 sts)
Rnd 2: inc in each st around (16 sts)
Rnd 3: [wsc, inc] x8 (24 sts)
Rnd 4: [2 wsc, inc] x8 (32 sts)
Rnd 5: [3 wsc, inc] x8 (40 sts)
Rnd 6: [4 wsc, inc] x8 (48 sts)
Rnd 7: [5 wsc, inc] x8 (56 sts)
Rnd 8: [6 wsc, inc] x8 (64 sts)
Rnd 9: [7 wsc, inc] x8 (72 sts)
Body (Stripe Sequence: 4 Rnds A, 2 Rnds B)
Rnds 10-13: wsc around in A (72 sts)
Rnds 14-15: change to B, wsc around (72 sts)
Rnds 16-19: change to A, wsc around (72 sts)
Rnds 20-21: change to B, wsc around (72 sts)
Rnds 22-25: change to A, wsc around (72 sts)
Rnds 26-27: change to B, wsc around (72 sts)
Rnds 28-31: change to A, wsc around (72 sts)
Rnds 32-33: change to B, wsc around (72 sts)
Rnds 34-35: change to A, wsc around (72 sts). Fasten off A, leaving B live for the edging.
Edging (Color B)
Rnd 36: sc around (72 sts)
Rnd 37: reverse sc around (72 sts). Fasten off and weave in ends.
Earflaps (Make 2, Color A)
With RS facing, count 9 sts back from the center front on each side; mark the flap centers 18 sts apart. Join A at the left marker and work flat over 12 brim stitches.
Row 1: sc 12 across brim (12 sts)
Row 2: ch 1, turn, dec, sc 8, dec (10 sts)
Row 3: ch 1, turn, sc 10 (10 sts)
Row 4: ch 1, turn, dec, sc 6, dec (8 sts)
Row 5: ch 1, turn, sc 8 (8 sts)
Row 6: ch 1, turn, dec, sc 4, dec (6 sts)
Row 7: ch 1, turn, sc 6 (6 sts)
Row 8: ch 1, turn, dec, sc 2, dec (4 sts)
Row 9: ch 1, turn, sc 4 (4 sts). Fasten off. Repeat for the right flap.
Ties (Make 2, Color B)
Cut 6 strands of B, 45 cm each. Fold the bundle in half, pull the loop through the bottom corner of an earflap, thread the ends through the loop, and tighten. Braid 25 cm, knot, and trim the ends even. Repeat on the other flap.
Assembly and Finishing
Weave in all ends neatly on the inside of the hat. Steam block lightly to a 52 cm circumference, shaping the crown with your hands — do not press the fabric flat, as this will crush the waistcoat texture. Let the hat dry completely before wearing.
Pro Tips and Variations
- Swap the cream for mustard or rust for a warmer, autumnal palette, or work the whole hat in a single color for a minimalist look.
- Add a small pom-pom or tassel to the top of the crown for extra bohemian charm.
- For a child's size, stop the crown increases at Round 7 (56 sts) and work the body to a shorter height.