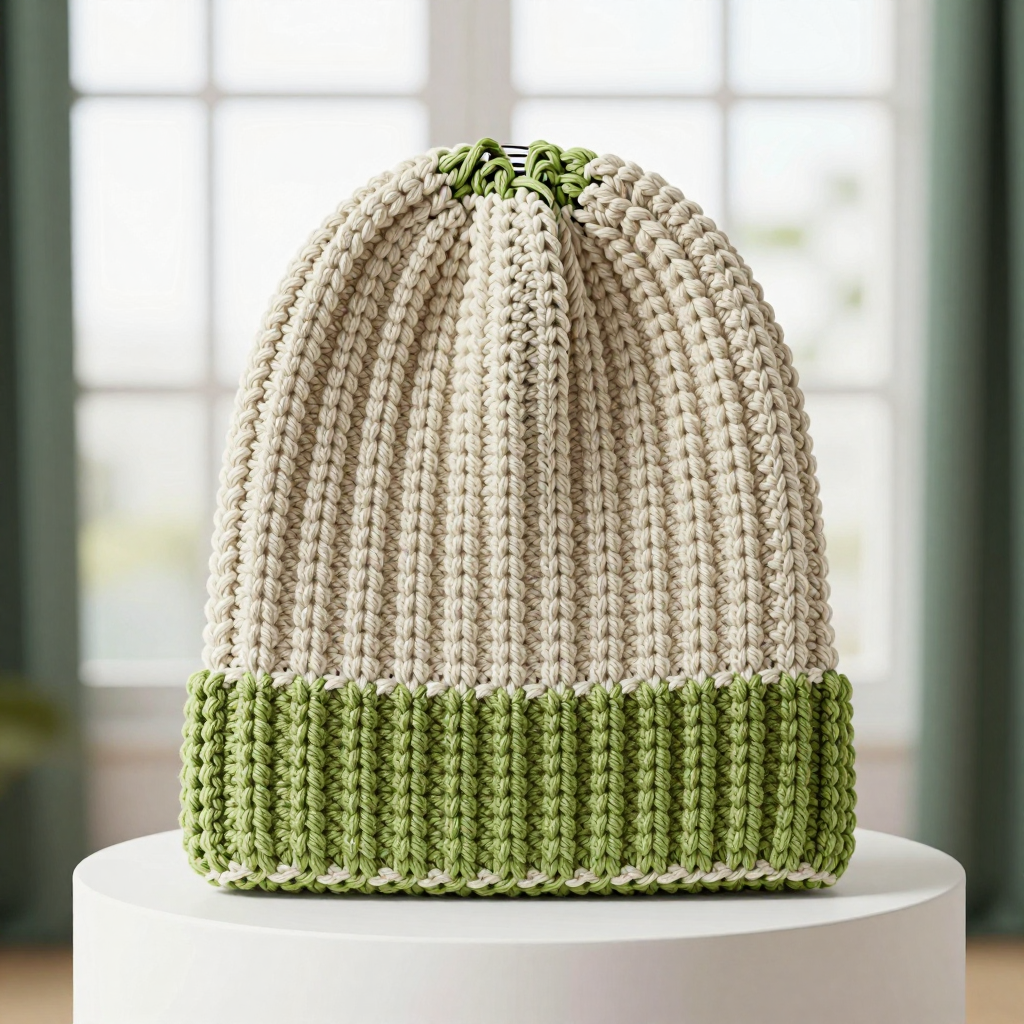
Baby Blue Crown with Pink Square Brim Bucket Hat: Free Crochet Pattern

Introduction
This bucket hat pairs a clean, minimalist baby blue crown with a playful ring of pink squares that forms the brim, giving you a piece that feels modern and a little bit sweet at the same time. It is designed for teens, and it works up in worsted weight tweed wool that gives the fabric a soft, flecked texture you will want to touch. The dome and straight sides are simple single crochet, so the only real challenge is the join-as-you-go square brim, which makes this a satisfying step up for a confident beginner. The finished hat is about 21 inches around and 7 inches tall, sitting comfortably on a 21–22 inch head.
Materials Needed
- Yarn: Worsted weight tweed wool (approx. 200 yds / 100 g per skein). Baby Blue (MC): 150 yds. Cotton Candy Pink (CC): 50 yds.
- Hook: 5.0 mm (H-8) crochet hook.
- Notions: Tapestry needle, stitch marker, scissors, measuring tape.
- Finished size: Fits a teen head circumference of 21–22 inches (53–56 cm). Hat circumference approx. 21 inches (53 cm); height approx. 7 inches (18 cm) including the brim.
Abbreviations
- MC – main color (Baby Blue)
- CC – contrasting color (Cotton Candy Pink)
- MR – magic ring: an adjustable loop you crochet into, then pull closed
- ch – chain
- sl st – slip stitch
- sc – single crochet
- dc – double crochet
- inc – increase: work 2 sc into the same stitch
- sp – space
- st(s) – stitch(es)
- rnd – round
- [ ] – repeat the instructions inside the brackets the number of times stated
Gauge
16 sts and 16 rnds = 4 inches (10 cm) in single crochet. To check, crochet a small flat swatch in sc and measure a 4-inch section across the middle; if you have more stitches than 16, go up a hook size, and if you have fewer, go down.
Tips Before You Start
- Work the crown in continuous rounds without joining, and place a stitch marker in the first stitch of each round so you never lose your place.
- Keep your single crochet tension even and slightly firm; a loose crown will stretch past the 21-inch target and the hat will slide down.
- Make all 12 pink squares before you begin joining, and lay them out in a ring so you can check that all corners line up before you commit.
- When you attach the square ring, count 24 sc per square as you go; this keeps the 96-stitch total exact and the brim flat.
Step-by-Step Instructions
Crown (MC)
Rnd 1: MR, 6 sc into the ring, pull closed (6 sts).
Rnd 2: inc in each st around (12 sts).
Rnd 3: [sc, inc] x6 (18 sts).
Rnd 4: [2 sc, inc] x6 (24 sts).
Rnd 5: [3 sc, inc] x6 (30 sts).
Rnd 6: [4 sc, inc] x6 (36 sts).
Rnd 7: [5 sc, inc] x6 (42 sts).
Rnd 8: [6 sc, inc] x6 (48 sts).
Rnd 9: [7 sc, inc] x6 (54 sts).
Rnd 10: [8 sc, inc] x6 (60 sts).
Rnd 11: [9 sc, inc] x6 (66 sts).
Rnd 12: [10 sc, inc] x6 (72 sts).
Rnd 13: [11 sc, inc] x6 (78 sts).
Rnd 14: [12 sc, inc] x6 (84 sts).
Rnd 15: [13 sc, inc] x6 (90 sts).
Rnd 16: [14 sc, inc] x6 (96 sts).
Rnd 17: sc in each st around (96 sts).
Sides (MC)
Rnds 18–35: sc in each st around (96 sts).
Fasten off.
Brim Squares (CC) – make 12
Square set-up: Ch 4, join with sl st to form a ring.
Rnd 1: Ch 3 (counts as dc), 2 dc in ring, ch 2, [3 dc in ring, ch 2] 3 times, join with sl st to top of ch-3 (12 dc, 4 ch-2 sps).
Rnd 2: Ch 3, dc in same sp, [dc in each of next 3 dc, (2 dc, ch 2, 2 dc) in next ch-2 sp] 3 times, dc in each of next 3 dc, 2 dc in next ch-2 sp, ch 2, join with sl st to top of ch-3 (28 dc, 4 ch-2 sps).
Fasten off. Repeat until you have 12 squares.
Joining the Squares
Join CC to any ch-2 sp of the first square, ch 1, sc in same sp, ch 1, sc in corresponding ch-2 sp of the second square, ch 1, sc in next ch-2 sp of the first square, ch 1, sc in next ch-2 sp of the second square, ch 1, sc in next ch-2 sp of the first square, ch 1, sc in next ch-2 sp of the second square, ch 1, sc in last ch-2 sp of the first square, ch 1, sc in last ch-2 sp of the second square, ch 1, sl st to first sc.
Repeat this join to connect all 12 squares into a closed ring, so the squares form a circle. Fasten off.
Attaching the Brim
Rnd 1: With MC, join yarn to any st of Rnd 35 of the hat. Sc in each st around, working through both loops of the hat and one edge of the square ring, evenly spacing 24 sc per square (96 sts).
Rnd 2: Sc in each st around (96 sts).
Fasten off.
Assembly and Finishing
The crown, sides, and square ring are all joined as you go, so there is no seaming to do at the end. Weave in all loose ends on the wrong side, threading each tail through a few stitches in its own color before trimming. Block the hat lightly by misting it with water, shaping the crown over a bowl or round form, and smoothing the square brim flat; let it dry completely before wearing. Check that the brim ring lies even all the way around and that the two blue rounds sit snugly against the bottom of the sides.
Pro Tips and Variations
- Swap the pink squares for a deeper berry or mustard to make the brim pop against the baby blue, or use a single color throughout for a fully minimalist look.
- Add a third sc round in MC around the brim edge for a slightly wider, more structured band.
- For a smaller child's fit, stop the crown increases at Rnd 14 (84 sts) and make 10 squares instead of 12, spacing 21 sc per square when attaching.