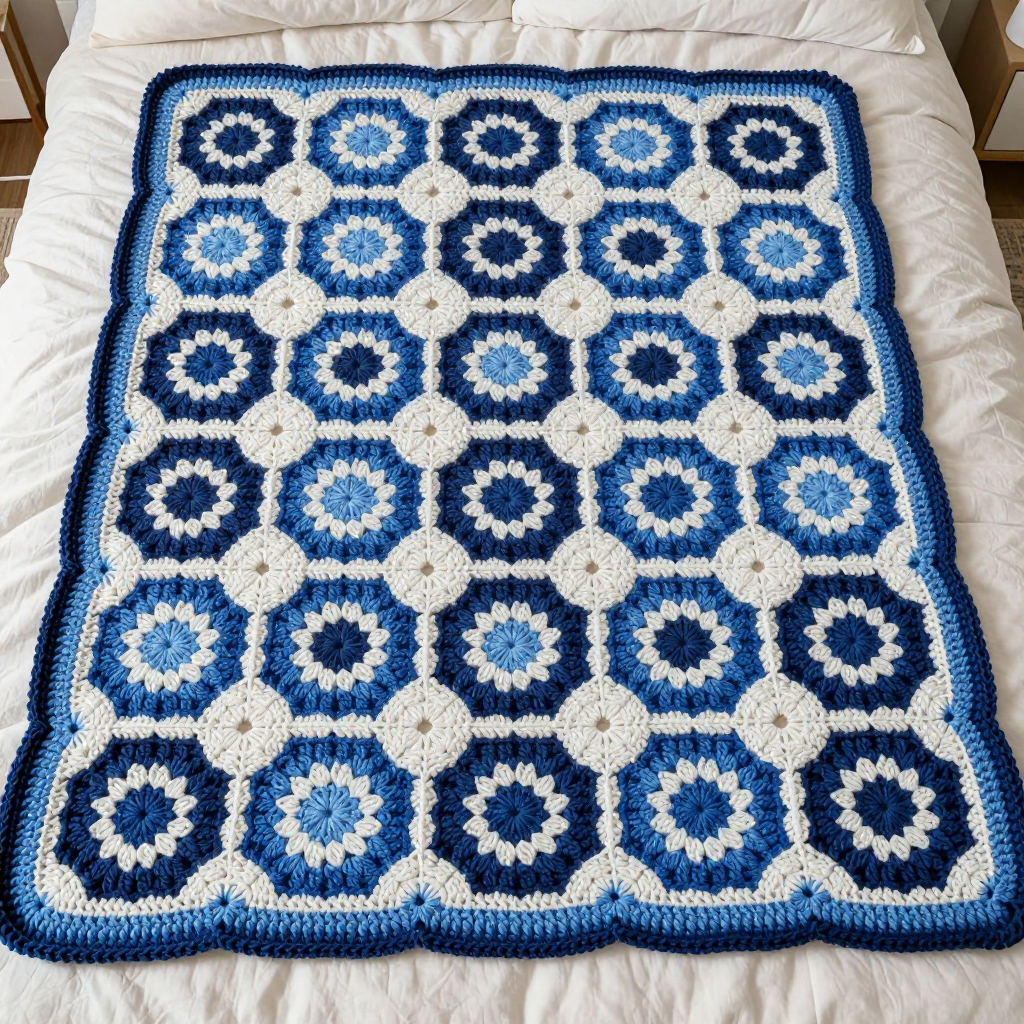
Peach Circle Motif Crochet Blanket Free Pattern

Introduction
This Peach Circle Motif Crochet Blanket is a warm, retro nod to the 90s, made from simple solid circles joined in a checkerboard of peach and apricot with cream seams. It is written for advanced beginners who are comfortable with single crochet and magic rings and want a project that grows one easy motif at a time. The finished blanket is flat and soft, with slightly raised cream joining lines that frame each colored disc and a narrow cream border with a little open mesh edge. It looks cozy and cheerful on a couch or bed, and it feels light but warm because worsted acrylic is squishy and easy to care for.
Materials Needed
- Worsted weight (#4) acrylic yarn: 600 yards peach (A), 600 yards apricot (B), 200 yards cream (C) for joining and border
- 5.0 mm (H-8) crochet hook
- Stitch marker (for the magic ring and first round)
- Tapestry needle for weaving in ends
- Scissors
- Finished size: approximately 36 x 36 inches (91 x 91 cm)
Abbreviations
- MR – magic ring: a loop of yarn you work your first stitches into, then pull closed
- sc – single crochet
- inc – increase: work 2 single crochet into the same stitch
- ch – chain
- st(s) – stitch(es)
- Rnd – round
- BL – back loop only: work into the loop farther from you
Gauge
The first 3 rounds of the motif should measure 2.5 inches (6.35 cm) in diameter; work one motif through Round 3 and measure across the center to check.
Tips Before You Start
- Keep your tension even on the increase rounds so each circle stays flat; if a motif cups, go up a hook size, and if it ruffles, go down.
- Make all 36 motifs before joining so you can lay them out and check the color alternation.
- When joining, always work through the back loops of both motifs at the same time so the cream seam sits on top and stays visible.
- Leave yarn tails of about 6 inches on each motif so you have enough to weave in securely later.
Step-by-Step Instructions
Circle Motif (make 36: 18 in A, 18 in B)
Rnd 1: With A or B, make a MR, then work 6 sc into the ring (6 sts). Pull the ring closed.
Rnd 2: inc in each st around (12 sts).
Rnd 3: [sc, inc] x6 (18 sts).
Rnd 4: [2 sc, inc] x6 (24 sts).
Rnd 5: [3 sc, inc] x6 (30 sts).
Rnd 6: [4 sc, inc] x6 (36 sts). Fasten off and weave in the starting tail only; leave the ending tail for joining.
Joining the Motifs
Arrange the 36 motifs in a 6 x 6 grid, alternating A and B so no two adjacent motifs in a row or column share a color (18 A and 18 B). Join with C, working sc through the back loops only of both motifs at the same time.
Step 1: Join motifs into rows first. Hold two neighboring motifs with wrong sides together, attach C at one edge, and sc through the matching back loops of both motifs across the edge. Repeat to join all 6 motifs in each row, making 6 rows of 6 motifs.
Step 2: Join the rows together the same way, working sc through the back loops of both rows across the full width, until all 6 rows are joined into one flat piece.
Fasten off C and weave in ends.
Border
Rnd 1: With C, join yarn at any corner. sc evenly around the entire blanket, working 3 sc in each corner. Join with a slip stitch to the first sc.
Rnd 2: sc in each sc around, working 3 sc in each corner. Join with a slip stitch to the first sc.
Rnd 3: [sc, ch 1, skip 1] around, working 3 sc in each corner. Join with a slip stitch to the first sc. Fasten off.
Assembly and Finishing
All motifs are joined as you go in rows and then in rows together, so there is no separate seaming at the end. Weave in all remaining ends on the wrong side, running each tail through several stitches in two directions so it stays secure. Block the blanket lightly by misting it with water, smoothing it flat to 36 x 36 inches (91 x 91 cm), and letting it dry completely; this helps the circles lie flat and the border sit straight.
Pro Tips and Variations
- Change the palette: use two shades of any color for a different retro look, or make all motifs one color for a simpler blanket.
- Add a fourth border round of sc in C for a slightly wider, more solid frame.
- Make a smaller baby blanket by using a 4 x 4 grid of 16 motifs and adjusting the border to fit the new size.