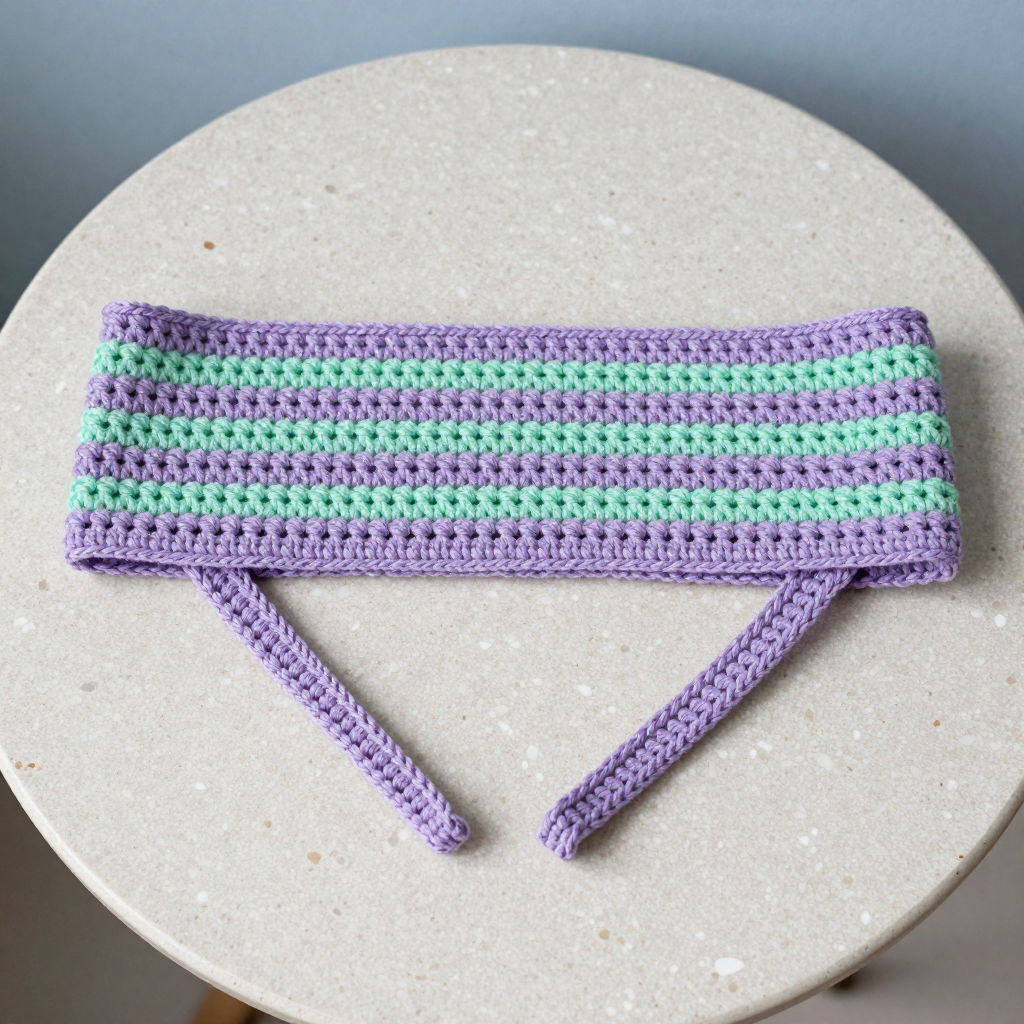
Pale Birch Toe-Post Baby Sandals Free Crochet Pattern

Pale Birch Toe-Post Baby Sandals – Free Crochet Pattern
Introduction
These minimalist toe-post baby sandals are made for anyone who loves calm, quiet baby makes — the kind that look beautiful in a nursery basket and take an evening to finish. Worked in soft pale birch-white cotton with a single dove-grey stripe around the sole, they have a clean Japandi look with no buckles, ties, or fuss. The straight rectangular sole and thin ankle band keep the shape simple and airy, while the small toe-post loop gives just enough of a sandal feel. They are a lovely baby shower gift or a quick summer project for an advanced beginner comfortable with hdc, sc, and simple seaming.
Materials Needed
- Yarn: DK weight (3) yarn, 100% cotton, 50 g / 125 yds per skein.
- Color A (Pale Birch): 1 skein (approx. 40 yds used)
- Color B (Dove Grey): 1 skein (approx. 10 yds used)
- Hook: 3.5 mm (E/4) crochet hook
- Notions: Tapestry needle, scissors, stitch marker (optional), rust-proof pins for blocking
- Finished size: 0–6 months: sole length 3.5" (9 cm), width 1.75" (4.5 cm). 6–12 months: sole length 4" (10 cm), width 2" (5 cm).
Abbreviations
- ch – chain: make a loop of yarn on the hook.
- st / sts – stitch / stitches.
- sl st – slip stitch: insert hook, yarn over, pull through everything on the hook.
- sc – single crochet: insert hook, yarn over, pull up a loop, yarn over, pull through both loops.
- hdc – half double crochet: yarn over, insert hook, pull up a loop, yarn over, pull through all three loops.
- approx. – approximately.
Gauge
5 sts and 4 rows in hdc = 1 inch (2.5 cm). Work a small hdc swatch and measure the center of the fabric; if you have more stitches per inch, go up a hook size, and if you have fewer, go down.
Tips Before You Start
- Keep the sole flat. The sole is a plain rectangle with no shaping, so work your hdc rows at an even, relaxed tension — pulling too tight will curl the corners.
- Count the edging round. The sc round around the sole should land at about 26 (30) sts; if you are a stitch or two off, nudge your spacing evenly around the corners rather than adding a cluster in one spot.
- Mark the toe-post spot. Place a stitch marker at the center front of the sole before joining the toe-post so both sandals match exactly.
- Check the band length. Hold the ankle band around the sole before sewing — it should arch gently over the back of the ankle without pulling.
Step-by-Step Instructions
Numbers are given for 0–6 months first, with 6–12 months in brackets [ ]. Make two sandals.
Sole (make 2, Color A)
Ch 9 [10].
R1: Hdc in 2nd ch from hook, hdc in each ch across (8 [9] sts).
R2: Ch 1, turn, hdc in each st across (8 [9] sts).
R3: Ch 1, turn, hdc in each st across (8 [9] sts).
R4: Ch 1, turn, hdc in each st across (8 [9] sts). Do not fasten off.
Change to Color B.
R5: Ch 1, turn, sc evenly around the entire sole, working along the sides and end edges (approx. 26 [30] sts). Join with sl st to first sc. Fasten off Color B.
Change to Color A.
R6: Ch 1, turn, sc in each st around (26 [30] sts). Join with sl st to first sc. Fasten off Color A. Weave in ends.
Toe-Post (make 2, Color A)
Setup: Join Color A with sl st to the center front of the sole (approx. 4 [4.5] sts in from each side).
Loop: Ch 3, sl st to the sole 2 sts to the right of the starting point to create a small loop. Fasten off. Repeat for the other sandal.
Ankle Band (make 2, Color A)
Ch 14 [16].
Row 1: Sc in 2nd ch from hook and in each ch across (13 [15] sts). Fasten off, leaving a long tail for sewing.
Edging (optional, Color B)
With Color B, sl st evenly around the top edge of the ankle band. Fasten off. Weave in ends.
Assembly and Finishing
Sew one end of the ankle band to the side of the sole at the back edge, and the other end to the opposite side, forming a loop around the ankle. Check that the band is not twisted before you finish sewing. Repeat for the second sandal, matching the band position on both. Weave in all ends on the wrong side. Block lightly: mist the sandals, shape the soles flat, and pin the ankle bands into a gentle arch; let them dry completely before use.
Pro Tips and Variations
- Color swap: Reverse the palette — dove grey sole and bands with a pale birch stripe — for a slightly more grounded look.
- Grippy soles: Add a few small dots of fabric puff paint to the underside of each sole for extra traction on smooth floors.
- Size up: For a larger size, add one extra hdc row to the sole and 2–3 chains to the ankle band, then re-check the edging count.