Jardin Flower Appliqué Crochet Tote Free Pattern

Introduction
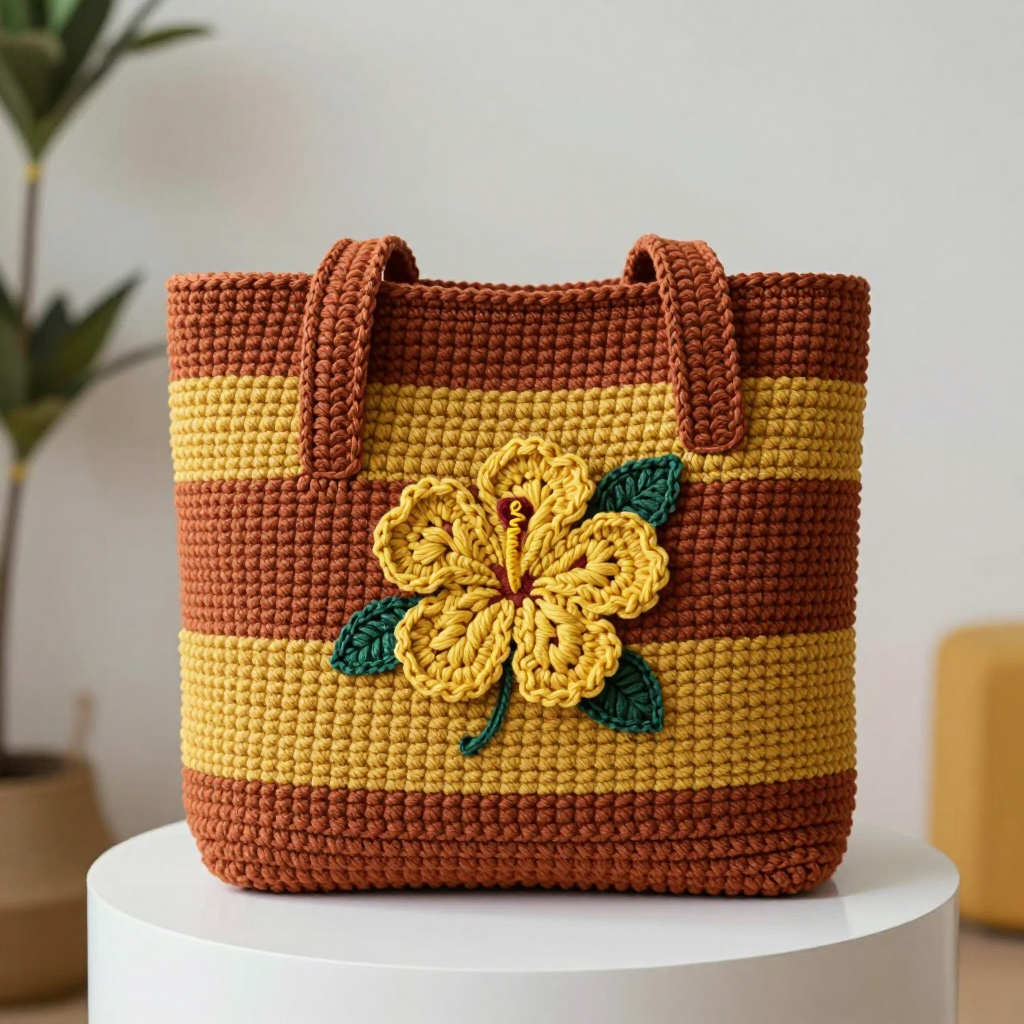
The Jardin Flower Appliqué Tote is a sweet, beginner-friendly project for anyone who has just learned single crochet and wants to make something they will actually carry. It is worked as one simple flat rectangle, folded and seamed into a roomy bag, then dressed up with three little white daisies with sunny yellow centers. The lavender bulky acrylic gives it a soft, slightly squishy feel with a crisp, structured shape, and the flat matching handles keep it light and easy to wear. The finished look is quietly Parisian-chic: simple, pretty, and made for spring market days or summer picnics.
Materials Needed
- Yarn: Bulky (weight 5) acrylic yarn, approximately 220 yards (200 m) in lavender for the body and handles; a small amount of white for the flowers; a small amount of yellow for the flower centers.
- Hook: 5 mm (H/8) crochet hook.
- Notions: Tapestry needle for seaming and weaving in ends, stitch marker (optional), scissors, and a measuring tape.
- Finished size: Approximately 14 inches wide x 12 inches tall (35.5 cm x 30.5 cm), excluding handles.
Abbreviations
- ch – chain: make a loop of yarn and pull it through the loop on your hook.
- sc – single crochet: insert hook into stitch, yarn over, pull up a loop, yarn over, pull through both loops.
- sl st – slip stitch: insert hook into stitch, yarn over, pull through both loops on the hook at once.
- st(s) – stitch(es).
- MR – magic ring: an adjustable loop you crochet into, then pull closed.
- inc – increase: work 2 single crochet into the same stitch.
Gauge
12 stitches and 14 rows = 4 inches (10 cm) in single crochet. To check it, crochet a small swatch of single crochet and measure a 4-inch section in both directions; if your stitches are bigger, go down a hook size, and if smaller, go up.
Tips Before You Start
- Keep your single crochet tension relaxed and even; bulky acrylic shows tight, uneven stitches, and even tension keeps the rectangle flat and square.
- Count your stitches at the end of every row. The body stays at 42 stitches and the handles at 40 stitches throughout, so a quick count catches mistakes early.
- Work the edging before folding the body, so the corners and row ends are neat and the side seams sit cleanly.
- Leave long tails on the flowers and centers; they make sewing the appliqués down much easier and more secure.
Step-by-Step Instructions
Body (lavender)
Row 1: Ch 43, sc in 2nd ch from hook and each ch across (42 sc).
Rows 2–42: Ch 1, turn, sc in each st across (42 sc). Do not fasten off.
Edging: Ch 1, turn, sc evenly around the entire piece, working 1 sc in each row end and 3 sc in each corner; join with sl st to first sc. Fasten off.
Handles (make 2, lavender)
Row 1: Ch 41, sc in 2nd ch from hook and each ch across (40 sc).
Rows 2–3: Ch 1, turn, sc in each st across (40 sc). Fasten off.
Flower (make 3, white)
Rnd 1: MR, 6 sc into the ring (6 sc).
Rnd 2: [Ch 3, sl st in next sc] 6 times (6 petals). Fasten off, leaving a long tail for sewing.
Flower Center (make 3, yellow)
Rnd 1: MR, 6 sc into the ring, join with sl st to first sc (6 sc). Fasten off, leaving a long tail.
Assembly and Finishing
Fold the body in half with right sides together, matching the side edges. Whipstitch the two side seams with lavender yarn, then turn the bag right side out. Attach the handles to the top edge: position each handle end 3 inches from the side edges and sew both ends securely with a tapestry needle. Sew a yellow center onto each white flower, then sew the three flowers evenly spaced across the front of the bag, using the photo as a guide. Weave in all ends. Block lightly by misting with water and shaping flat, then let it dry completely before use.
Pro Tips and Variations
- Use a contrasting color for the handles, or make them longer for a shoulder strap.
- Swap the daisies for roses or hearts by changing the petal count and shape.
- Add a fabric lining for extra structure and to keep small items from slipping through.