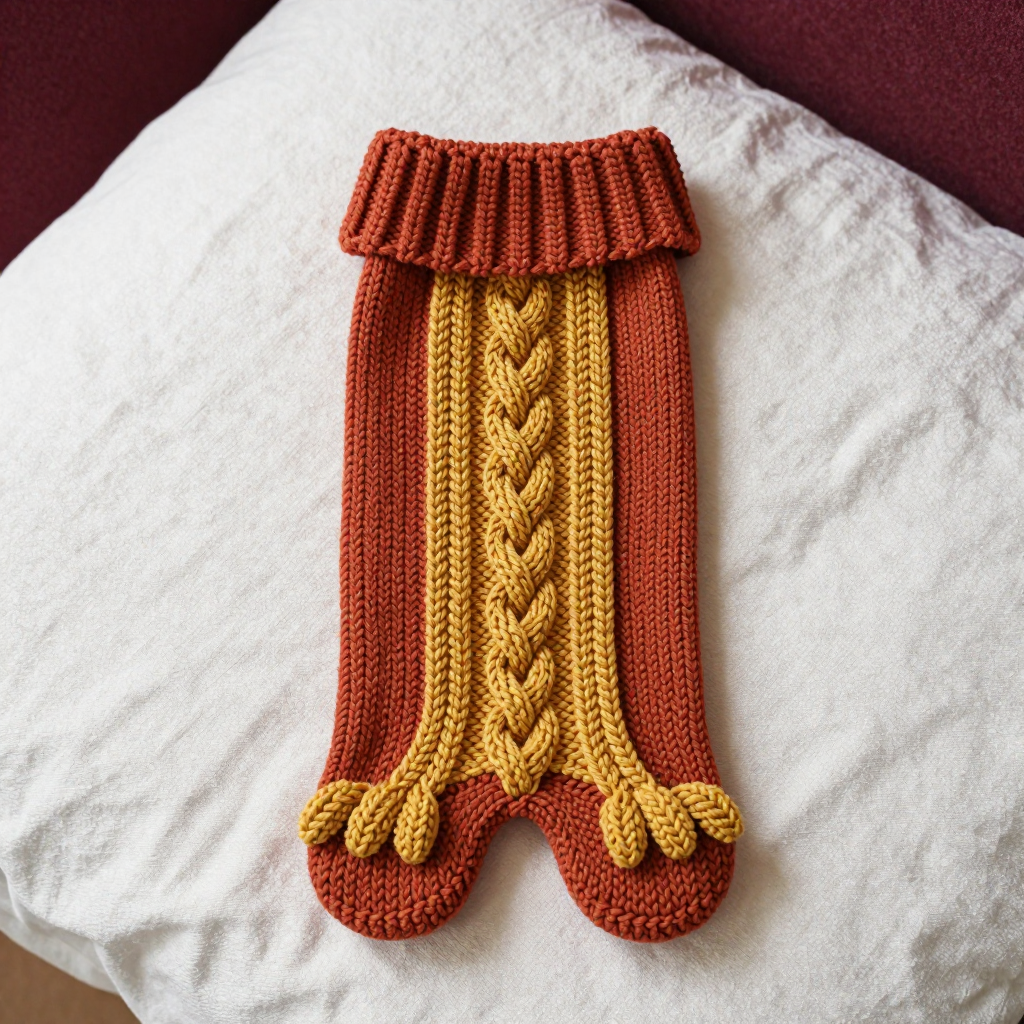
Desert Dawn Earflap Beanie: Free Knit Pattern

Introduction
The Desert Dawn Earflap Beanie is a warm, beginner-friendly hat that looks far more complicated than it is. It is knit flat as one simple rectangle in two-colour brioche rib, then seamed up the back, so you never have to work in the round or shape a crown. Bold cherry-red and pink columns run the full height of the hat, giving it a thick, squishy texture with raised slipped-stitch ridges that feel cozy against the ears. Two small rectangular earflaps and a fluffy pink pom-pom finish the desert boho look. If you can knit, purl, and slip a stitch, you can make this hat.
Materials Needed
- Yarn: DK weight (Category 3) 100% merino wool, 120 yd (110 m) per 50 g skein. One skein each of cherry red (A) and pink (B). You will use approximately 100 yd (92 m) of A and 80 yd (73 m) of B.
- Needles: 4.5 mm (US 7) straight knitting needles.
- Notions: Tapestry needle, stitch marker (optional), pom-pom maker or cardboard (2.5 inch / 6 cm), scissors, tape measure.
- Finished size: Fits an average woman's head of 21–23 inches (53–58 cm) circumference. Finished circumference is approximately 20 inches (51 cm) unstretched, with a height of 8.5 inches (21.5 cm) including the earflaps.
Abbreviations
- CO – cast on
- BO – bind off
- st(s) – stitch(es)
- k – knit
- p – purl
- sl1yo – slip one stitch purlwise while wrapping the yarn over the needle to create a yarnover (the brioche slip)
- brk1 – brioche knit one: knit the slipped stitch together with its yarnover
- RS – right side
- WS – wrong side
- rep – repeat
Gauge
16 sts and 24 rows = 4 inches (10 cm) in two-colour brioche rib, blocked. Knit a small swatch in pattern, block it lightly, and measure a 4-inch section; adjust your needle size if needed to match.
Tips Before You Start
- Keep colours organised: Carry both colours along the same edge and always slide stitches rather than turning on the set-up row, so the brioche columns stay tidy.
- Watch your slipped stitches: The sl1yo is what creates the thick brioche texture — keep the yarnover snug so the fabric stays even.
- Count your repeats: The body is a simple two-row repeat; mark each right-side row so you always know which colour comes next.
- Block before seaming: A light block relaxes the brioche rib and makes the rectangle easier to measure and seam neatly.
Step-by-Step Instructions
Hat Body (worked flat in two-colour brioche rib)
Set-up row (RS): With A, *k1, sl1yo, p1; rep from * to end (80 sts). Do not turn. Slide stitches to the other end of the needle.
Row 1 (WS): With B, *sl1yo, p1, brk1; rep from * to end (80 sts). Turn.
Row 2 (RS): With A, *brk1, sl1yo, p1; rep from * to end (80 sts). Turn.
Row 3 (WS): With B, *sl1yo, p1, brk1; rep from * to end (80 sts). Turn.
Rows 4–51: Repeat Rows 2–3 (24 times total), ending after a WS row (80 sts). Piece measures approximately 8.5 inches (21.5 cm) from cast-on.
Bind off: Bind off all stitches in pattern (80 sts).
Earflaps (make 2)
Set-up row (RS): With A, CO 12 sts, then *k1, sl1yo, p1; rep from * to end (12 sts). Do not turn. Slide stitches to the other end of the needle.
Row 1 (WS): With B, *sl1yo, p1, brk1; rep from * to end (12 sts). Turn.
Row 2 (RS): With A, *brk1, sl1yo, p1; rep from * to end (12 sts). Turn.
Row 3 (WS): With B, *sl1yo, p1, brk1; rep from * to end (12 sts). Turn.
Rows 4–12: Repeat Rows 2–3 (4 times), then repeat Row 2 once more, ending after a WS row (12 sts).
Bind off: Bind off all stitches in pattern (12 sts).
Pom-pom
Using colour B, make one 2.5-inch (6 cm) pom-pom with a pom-pom maker or two cardboard circles. Leave two long tails for attaching.
Assembly and Finishing
Fold the hat body in half with right sides together, aligning the cast-on and bind-off edges. Seam the back seam using mattress stitch, working from the bottom edge to the top. Turn the hat right side out. Position each earflap at the sides, centered over the seam line, with the bottom edges aligned with the hat's bottom edge. Sew the earflaps in place using matching yarn. Attach the pom-pom securely to the top center of the hat with the long tails, tying them firmly on the inside. Weave in all ends. Block lightly to the finished measurements and let dry completely.
Pro Tips and Variations
- Colour swap: Reverse A and B for a pink-dominant hat, or try a cream and rust palette for a softer desert look.
- Longer earflaps: Work the earflaps for 16–18 rows instead of 12 for a more dramatic, pointed look.
- Add ties: Braid three strands of yarn in colour A and attach a braid to the bottom of each earflap for a functional, boho finish.