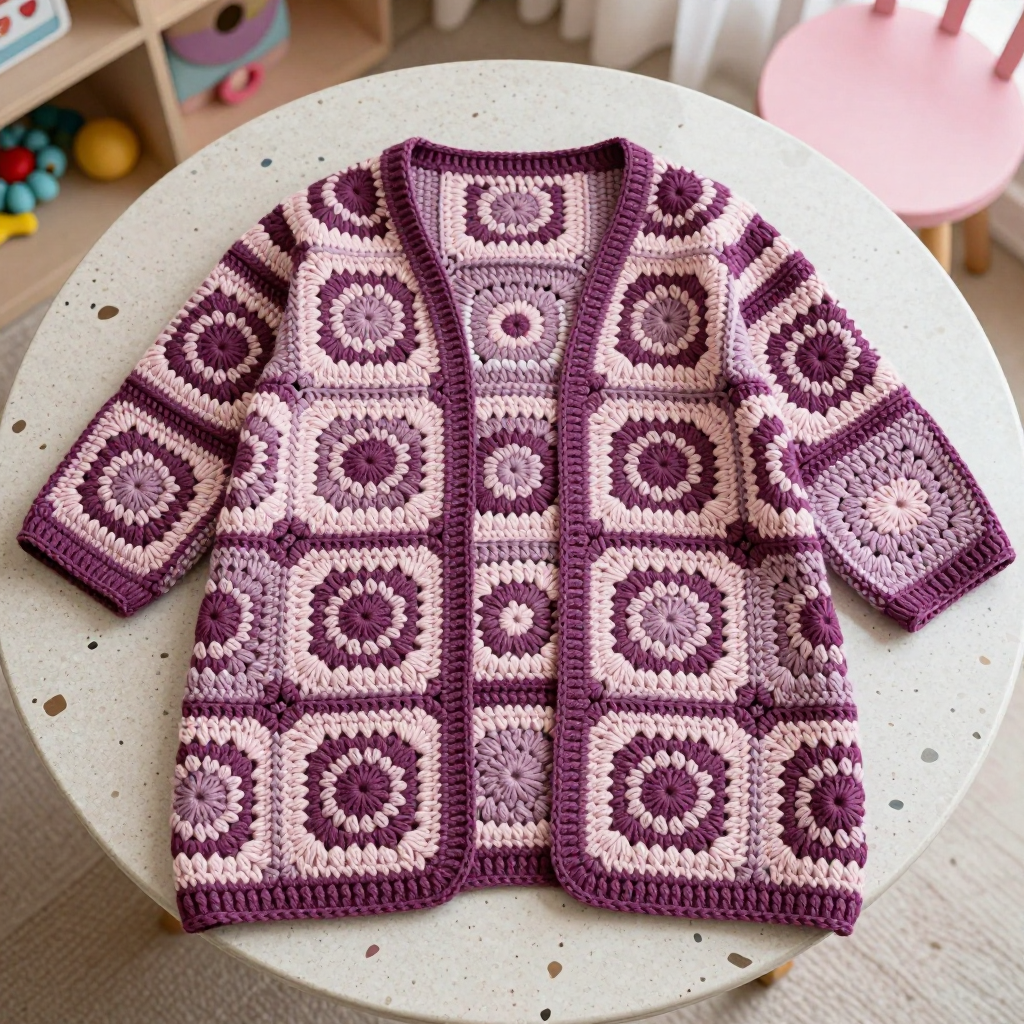
Blush Cabin Pocket Square Coatigan Free Crochet Pattern
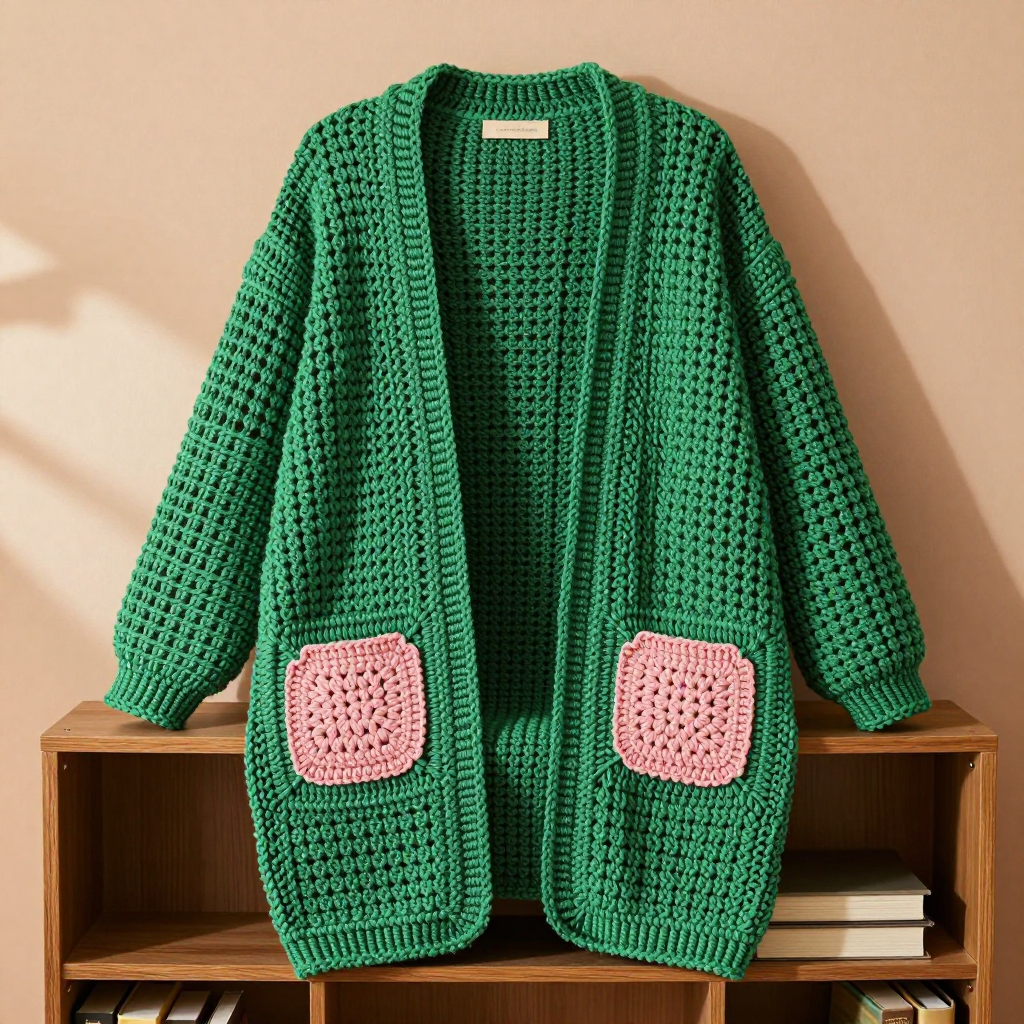
Blush Cabin Pocket Square Coatigan Free Crochet Pattern
Introduction
The Blush Cabin Pocket Square Coatigan is a long, open-front layer made entirely from classic emerald granny squares, with two blush pink patch pockets that add a soft pop of color at the hips. It is designed for crocheters who are comfortable with basic stitches and ready to try their first garment — the squares do all the shaping for you, so there is no complicated armhole math. The finished coatigan is roomy and drapey, with smooth single crochet bands and cuffs that frame the granny-square grid and keep the edges tidy. Throw it over jeans and a tee for chilly mountain evenings, or wrap it around your shoulders on the porch with a mug in hand.
Materials Needed
- Yarn: Worsted weight (4) acrylic or wool blend. Emerald: 1200 (1400, 1600) yds. Blush: 300 (350, 400) yds.
- Hook: 5.5 mm (I-9) for sizes S/M; 6.0 mm (J-10) for L/XL; 6.5 mm (K-10.5) for 2X/3X.
- Notions: Tapestry needle, stitch markers, scissors, tape measure.
- Finished size: Bust 48 (52, 56)″ [122 (132, 142) cm]; Length 36 (39, 42)″ [91.5 (99, 106.5) cm].
Abbreviations
- ch — chain
- sl st — slip stitch
- sc — single crochet
- dc — double crochet
- sp / sps — space / spaces
- RS — right side
- rep — repeat
Gauge
One granny square measures 6″ (15 cm) with the 5.5 mm hook, 6.5″ (16.5 cm) with the 6.0 mm hook, and 7″ (18 cm) with the 6.5 mm hook. Work one square in your chosen size and measure it flat, corner to corner, before making the rest.
Tips Before You Start
- Make one test square first and check the measurement — the whole garment is built from squares, so a small size difference multiplies across 62 squares.
- Keep your tension even on the corner ch-2 spaces; loose corners make seaming wobbly and tight corners pull the panels in.
- Lay out all squares on the floor in your panel arrangement before seaming so you can balance any shade variation in your emerald skeins.
- Count your clusters at the end of each round: every round adds 12 dc, so R3 should end with 36 dc and R4 with 48 dc.
Step-by-Step Instructions
Granny Square (make 62)
With emerald, ch 4, join with sl st to form a ring.
R1: Ch 3 (counts as dc), 2 dc in ring, [ch 2, 3 dc in ring] 3 times, ch 2, join with sl st to top of ch-3 (12 dc, 4 ch-2 sps).
R2: Sl st to ch-2 sp, ch 3, 2 dc in same sp, ch 2, 3 dc in same sp, *ch 1, (3 dc, ch 2, 3 dc) in next ch-2 sp; rep from * around, ch 1, join (24 dc, 4 ch-1 sps, 4 ch-2 sps).
R3: Sl st to ch-2 sp, ch 3, 2 dc in same sp, ch 2, 3 dc in same sp, *ch 1, 3 dc in next ch-1 sp, ch 1, (3 dc, ch 2, 3 dc) in next ch-2 sp; rep from * around, ch 1, join (36 dc, 8 ch-1 sps, 4 ch-2 sps).
R4: Sl st to ch-2 sp, ch 3, 2 dc in same sp, ch 2, 3 dc in same sp, *[ch 1, 3 dc in next ch-1 sp] twice, ch 1, (3 dc, ch 2, 3 dc) in next ch-2 sp; rep from * around, ch 1, join (48 dc, 12 ch-1 sps, 4 ch-2 sps).
Fasten off. Square measures 6 (6.5, 7)″.
Assembly Layout
Arrange squares as follows: Back: 4 squares wide x 5 squares tall. Fronts: 2 squares wide x 5 squares tall each. Sleeves: 2 squares wide x 3 squares tall each. Sew squares together with emerald yarn using whipstitch or sl st, matching corners.
Pockets (make 2)
With blush, work the same granny square pattern for 3 rounds only.
R1: Ch 4, join with sl st to form ring, ch 3, 2 dc in ring, [ch 2, 3 dc in ring] 3 times, ch 2, join (12 dc, 4 ch-2 sps).
R2: Sl st to ch-2 sp, ch 3, 2 dc in same sp, ch 2, 3 dc in same sp, *ch 1, (3 dc, ch 2, 3 dc) in next ch-2 sp; rep from * around, ch 1, join (24 dc, 4 ch-1 sps, 4 ch-2 sps).
R3: Sl st to ch-2 sp, ch 3, 2 dc in same sp, ch 2, 3 dc in same sp, *ch 1, 3 dc in next ch-1 sp, ch 1, (3 dc, ch 2, 3 dc) in next ch-2 sp; rep from * around, ch 1, join (36 dc, 8 ch-1 sps, 4 ch-2 sps).
Fasten off. Pocket measures 4.5 (5, 5.5)″.
Pocket Placement
Sew pockets to the front panels, positioning the lower edge 6″ from the bottom and centered on each front, 2″ from the side edge.
Front Bands and Collar
With RS facing, join emerald at the bottom right front edge.
Row 1: Work sc evenly up the right front edge, around the back neck, and down the left front edge.
Rows 2-4: Ch 1, turn, sc evenly across (4 rows total).
Fasten off.
Cuffs
With RS facing, join emerald at the sleeve edge.
Rnd 1: Work sc evenly around the sleeve edge.
Rnds 2-4: Sc evenly around (4 rounds total).
Fasten off. Repeat for the other sleeve.
Edging
Rnd 1: Work 1 round sc around the entire outer edge of the coatigan, including the bottom hem and front bands.
Fasten off.
Assembly and Finishing
Sew the back, front, and sleeve panels together with emerald yarn using whipstitch or sl st, matching corners and keeping seams flat. Attach the sleeves to the body at the shoulder and armhole edges. Weave in all ends on the wrong side, working them through a few stitches so they do not work loose. Block the finished coatigan lightly: mist with water, pat the squares flat, and let it dry away from direct heat so the granny squares sit square and the bands lie straight.
Pro Tips and Variations
- Swap the blush pockets for a third color, like cream or rust, to match your cabin decor.
- Add a simple ch-1 button loop at the top of one front band and a matching button on the other for a closable version.
- Make the sleeves one square shorter for a cropped, three-quarter sleeve that works well in warmer months.