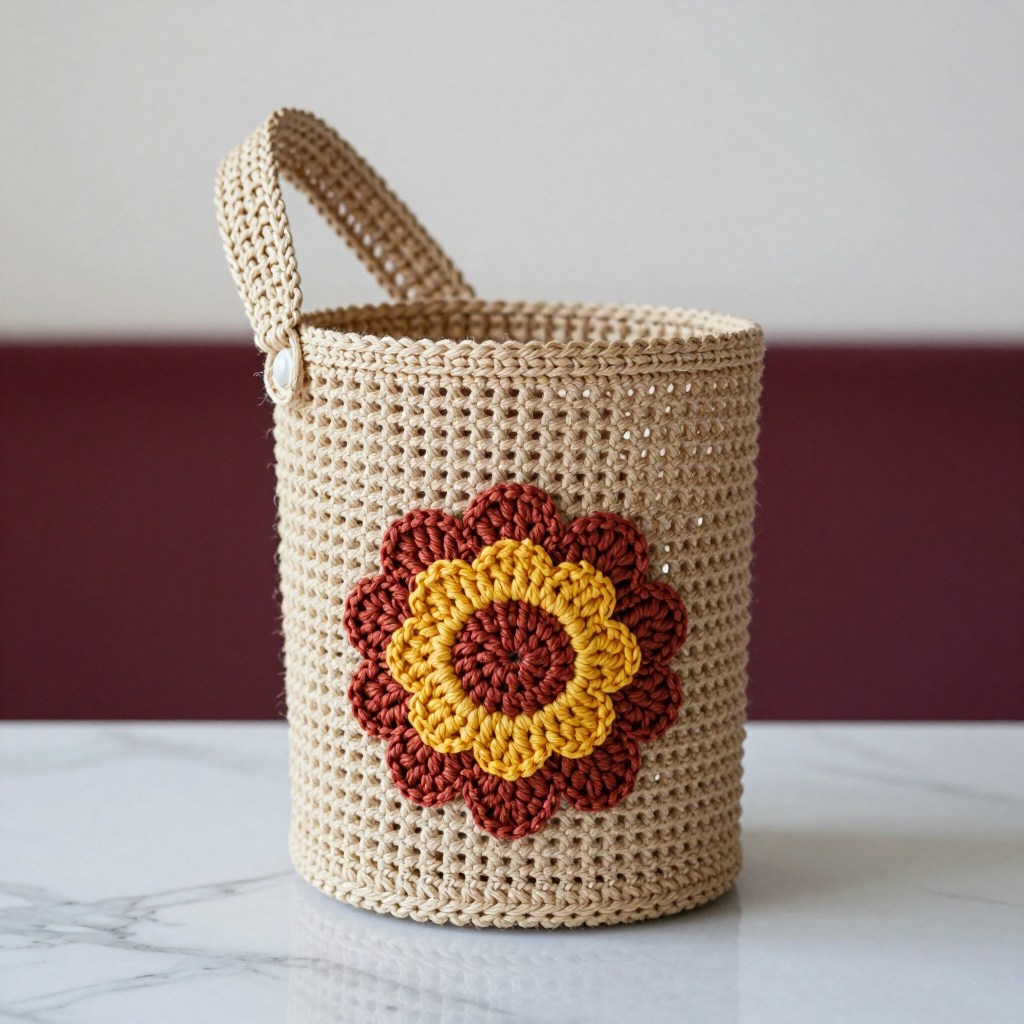
Toadstool Pouch Crochet Free Pattern

Introduction
This Toadstool Pouch is a small, whimsical crochet project that looks like a little mushroom you can tuck in your pocket or bag. It's designed for beginners: if you can make a single crochet stitch and a magic ring, you can make this pouch. The body is worked as one flat rectangle, folded in half, and seamed, so there's no tricky shaping or working in the round for the main piece. The finished pouch is about 4.5 inches wide and 5 inches tall including the flap, with a smooth, firm single crochet fabric in cheerful red, cream spots, and a little brown button. It's quick, satisfying, and makes a sweet gift or a fairycore accessory for yourself.
Materials Needed
- Yarn: Worsted weight (category 4) cotton yarn in four colors:
- Color A (red): 80 yd
- Color B (cream): 30 yd
- Color C (white): 10 yd for the spots
- Color D (brown): small amount for the button
- Hook: 5.0 mm (H-8) crochet hook
- Notions: Tapestry needle, scissors, small amount of polyester fiberfill for the button, stitch marker (optional)
- Finished size: Approx. 4.5 inches wide x 5 inches tall (including flap), 1 inch deep
Abbreviations
- ch — chain: yarn over and pull through the loop on your hook.
- sc — single crochet: insert hook in stitch, yarn over, pull up a loop, yarn over, pull through both loops.
- sl st — slip stitch: insert hook in stitch, yarn over, pull through both the stitch and the loop on your hook.
- inc — increase: work 2 single crochet stitches into the same stitch.
- dec — decrease: work 2 single crochet stitches together as one.
- sp — space: the gap made by a chain or between stitches.
- MR — magic ring: an adjustable loop used to start a circle.
- sts — stitches.
Gauge
16 sts and 18 rows = 4 inches (10 cm) in single crochet. To check it, crochet a small swatch in single crochet, measure a 4-inch section, and adjust your hook size if you have more or fewer stitches than 16 per 4 inches.
Tips Before You Start
- Keep your single crochet tension even and slightly firm so the pouch holds its shape and the seams sit flat.
- Count your stitches at the end of every row; the body and flap both stay at 18 stitches, so any drift is easy to spot.
- When you fold the body, match the short ends carefully before whipstitching so the pouch sits square.
- Leave long tails on the spots and button so you have plenty of yarn for sewing them on securely.
Step-by-Step Instructions
Pouch Body (Color A)
Ch 19.
Row 1: Sc in 2nd ch from hook and each ch across (18 sts).
Rows 2-24: Ch 1, turn, sc in each st across (18 sts).
Fasten off. Fold the piece in half with right sides together, matching the short ends. Whipstitch the side seams using Color A. Turn right side out.
Flap (Color A)
Join Color A at the top edge of the back panel.
Row 1: Ch 1, sc evenly across the top edge (18 sts).
Rows 2-8: Ch 1, turn, sc in each st across (18 sts).
Row 9: Ch 1, turn, sc in next 8 sts, ch 2, skip 2 sts, sc in last 8 sts (18 sts, buttonhole made).
Row 10: Ch 1, turn, sc in each st and ch-2 sp across (18 sts).
Fasten off.
Spot Appliqués (Color C) — make 5
Rnd 1: MR, 6 sc, join with sl st to first sc (6 sts).
Fasten off, leaving a long tail for sewing. Sew the spots randomly onto the front of the pouch and the flap using Color C.
Button (Color D)
Ch 2.
Rnd 1: 6 sc in 2nd ch from hook (6 sts).
Rnd 2: Inc in each st around (12 sts).
Rnd 3: Sc in each st around (12 sts).
Stuff lightly.
Rnd 4: Dec around (6 sts).
Fasten off, leaving a long tail. Sew the button to the front of the pouch opposite the buttonhole.
Edging (Color B)
Join Color B at the top edge of the pouch (not the flap). Sc evenly around the entire top opening, working through both layers to reinforce. Fasten off.
Assembly and Finishing
If you haven't already, whipstitch the side seams of the folded body with Color A, then turn the pouch right side out. Sew the five cream spots in place on the front and flap, then sew the brown button to the front opposite the buttonhole. Weave in all ends on the wrong side, using the tapestry needle to tuck them into the fabric so they don't show. Lightly steam or wet-block the pouch to even out the stitches and help the flap lie flat, shaping it with your hands and letting it dry completely before use.
Pro Tips and Variations
- Swap the red for a deep burgundy or forest green for a different woodland look, keeping the cream spots for contrast.
- Add a simple chain strap in Color A at the top corners to turn the pouch into a tiny crossbody bag.
- Use a slightly smaller hook (4.5 mm) for a firmer, denser fabric if you plan to carry small items like coins or keys.