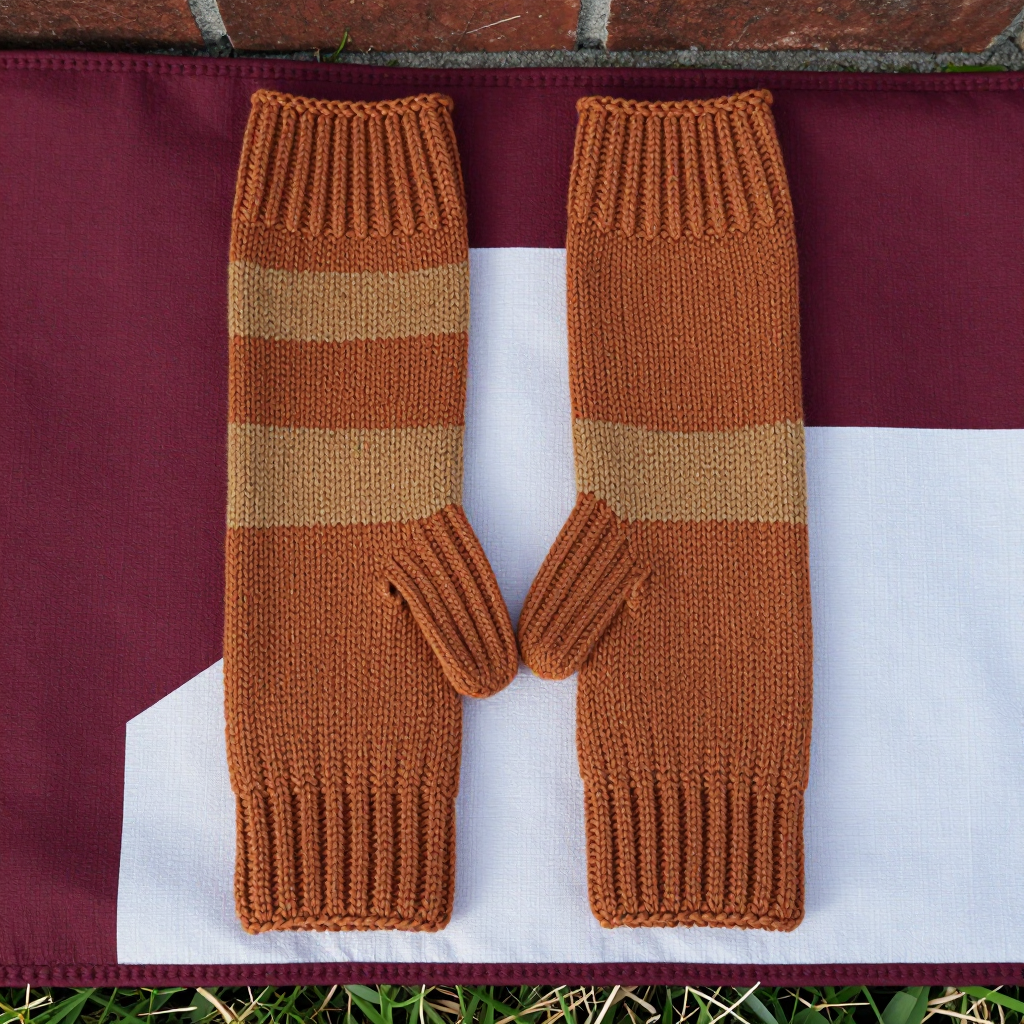
Double Braid Chocolate Knit Mittens Free Pattern

Double Braid Chocolate Knit Mittens Free Pattern
Introduction
These Double Braid Chocolate Mittens are made for anyone who loves a classic, slightly old-fashioned look with real texture — they suit men's hands beautifully but work for anyone who wants a warm, roomy mitten. Two parallel caramel rope cables run up the back of each chocolate-brown hand, giving a Victorian romantic feel that looks far more complicated than it is. The mittens are knitted as simple straight tubes with a ribbed cuff, a gusseted thumb, and a rounded caramel fingertip. In an aran wool blend they feel dense, cozy, and substantial — the kind of mitten you reach for all winter.
Materials Needed
- Yarn: Aran weight wool blend (e.g., 80% wool, 20% nylon), 100 g / 170 yd (156 m) per skein.
- MC Chocolate: 1 skein (approx. 120 yd / 110 m)
- CC Caramel: 1 skein (approx. 30 yd / 27 m)
- Needles: 4.0 mm (US 6) double-pointed needles (set of 4), or a circular needle if you prefer magic loop, or the size needed to obtain gauge.
- Notions: Cable needle, stitch markers (3), stitch holder or waste yarn, tapestry needle.
- Finished size: To fit hand circumference 8–9 in (20–23 cm). Finished circumference 8.5 in (21.5 cm), length 10 in (25.5 cm) from cuff to fingertip.
Abbreviations
- CO — cast on.
- k — knit.
- p — purl.
- st(s) — stitch(es).
- rnd(s) — round(s).
- pm — place marker.
- sm — slip marker.
- m1 — make one: lift the bar between stitches and knit it through the back loop to add a stitch.
- k2tog — knit two stitches together (decreases by one).
- cn — cable needle.
- sl — slip stitches purlwise onto the cable needle.
- MC / CC — main color (chocolate) / contrast color (caramel).
Gauge
20 sts and 28 rnds = 4 in (10 cm) in stockinette stitch in the round. Knit a swatch in the round (or a flat swatch and measure the knit side) and adjust your needle size until you match it — gauge keeps the mitten the right size for an 8–9 in hand.
Tips Before You Start
- Work both mittens at the same time or keep careful notes — the cable panel must sit on the back of the hand, so decide now which side is the "back" for each mitten.
- Count your cable rounds: the two outer 4-stitch columns cross every 6th round, and the central 8-stitch column crosses every 8th round. The written panel below already places every crossing for you.
- Use a locking marker or a scrap of yarn to mark the start of the round; the cable panel markers stay in place throughout the hand.
- Keep the cable crossings loose enough to lie flat — tugging them tight makes the panel pucker on a dense aran fabric.
Step-by-Step Instructions
Cuff
Rnds 1–12: With MC, CO 44 sts. Join to work in the round, being careful not to twist. Place marker for beginning of round. [k2, p2] around (44 sts).
Next rnd: Knit all sts, increasing 2 sts evenly (46 sts).
Set Up Cable Pattern
Rnd 1: k11, pm, work Cable Panel over next 24 sts (p2, k4, p2, k8, p2, k4, p2), pm, k11 (46 sts).
Cable Panel (worked over 24 sts)
Rnd 1: p2, k4, p2, k8, p2, k4, p2 (24 sts).
Rnd 2: p2, sl 2 to cn, hold front, k2, k2 from cn, p2, k8, p2, sl 2 to cn, hold front, k2, k2 from cn, p2 (24 sts).
Rnd 3: p2, k4, p2, k8, p2, k4, p2 (24 sts).
Rnd 4: p2, k4, p2, sl 4 to cn, hold front, k4, k4 from cn, p2, k4, p2 (24 sts).
Rnd 5: p2, k4, p2, k8, p2, k4, p2 (24 sts).
Rnd 6: p2, sl 2 to cn, hold front, k2, k2 from cn, p2, k8, p2, sl 2 to cn, hold front, k2, k2 from cn, p2 (24 sts).
Rnds 7–8: p2, k4, p2, k8, p2, k4, p2 (24 sts).
Repeat Rnds 1–8 for the cable pattern.
Hand
Work even in the established pattern (k11, cable panel, k11) until the piece measures 2 in (5 cm) from the cast-on edge, ending after a cable panel rnd.
Thumb Gusset
Next rnd: k11, pm, m1, k1, m1, pm, work cable panel, k11 (48 sts).
Next rnd: k11, sm, k3, sm, work cable panel, k11 (48 sts).
Inc rnd: k11, sm, m1, knit to last st before next marker, m1, sm, work cable panel, k11 (2 sts increased).
Rep Inc rnd every 3rd rnd 5 more times (60 sts total, 15 sts between gusset markers).
Work even until the piece measures 3.5 in (9 cm) from the cast-on edge, ending after a cable panel rnd.
Divide for Thumb
Next rnd: k11, slip 15 gusset sts to holder, CO 3 sts, work cable panel, k11 (48 sts).
Work even in pattern until the piece measures 8 in (20.5 cm) from the cast-on edge, ending after a cable panel rnd.
Shape Top
Rnd 1: Change to CC. Knit all sts (48 sts).
Rnd 2: [k2, k2tog] around (36 sts).
Rnd 3: Knit all sts (36 sts).
Rnd 4: [k1, k2tog] around (24 sts).
Rnd 5: Knit all sts (24 sts).
Rnd 6: [k2tog] around (12 sts).
Rnd 7: [k2tog] around (6 sts).
Cut yarn, thread through remaining sts, pull tight, and fasten off.
Thumb
Set-up rnd: With MC, pick up and knit 3 sts from the cast-on edge, then knit 15 sts from the holder. Join to work in the round (18 sts).
Work in stockinette until the thumb measures 2 in (5 cm) from the pick-up rnd.
Next rnd: [k1, k2tog] around (12 sts).
Next rnd: [k2tog] around (6 sts).
Cut yarn, thread through remaining sts, pull tight, and fasten off.
Assembly and Finishing
Weave in all ends on the wrong side, using the yarn tails to close any small gaps at the thumb join and at the base of the cast-on stitches. There are no seams to sew — each mitten is knitted in the round as a tube. Block lightly to measurements: mist with water, pat into shape to 8.5 in (21.5 cm) circumference and 10 in (25.5 cm) length, and lay flat to dry, smoothing the cable panel so the two rope braids sit flat and even. Repeat the pattern for the second mitten.
Pro Tips and Variations
- Swap the colors: Work the cables in chocolate on a caramel background for a lighter, softer look, or use a single color for a subtle textured mitten.
- Longer cuff: Add 4–6 extra rounds of k2, p2 ribbing before the increase round for a deeper, fold-over cuff.
- Warmer tip: Knit the caramel top section with a strand of MC held together for extra warmth, or add a thin lining in the same wool blend.