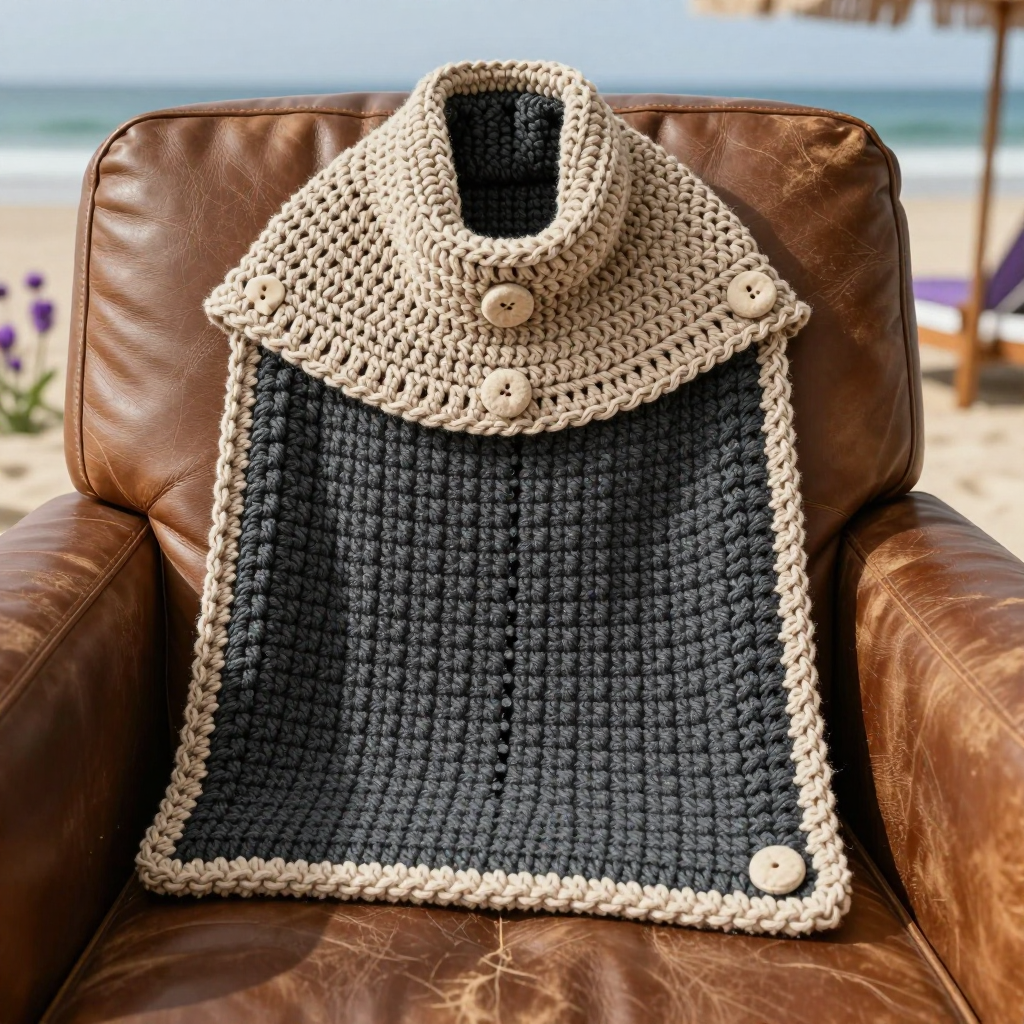
Cosmic Convertible Cowl Free Crochet Pattern
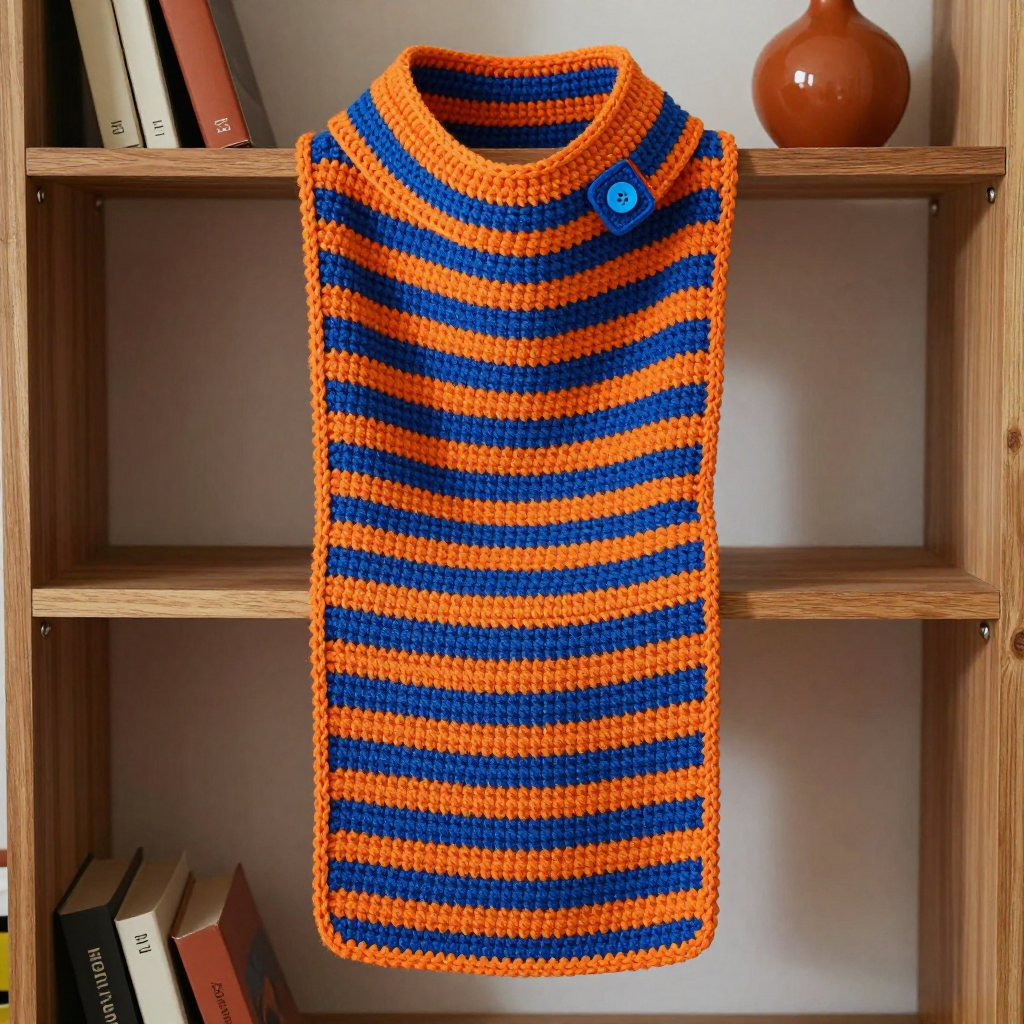
Cosmic Convertible Cowl Free Crochet Pattern
Introduction
The Cosmic Convertible Cowl is a wide, striped tube of cobalt and orange that you can wear three ways: long and flowing, doubled around the neck, or pulled up as a cozy hood. It's written for crocheters who are comfortable with double crochet and working in the round, and the simple four-row stripes make it a relaxing, rhythmic project. The smooth double crochet fabric feels soft and light against the skin, while the bold space-age color blocking gives it a playful retro-futuristic look. A small button tab at one end lets you fasten the cowl into a hood or a snug doubled loop, so one accessory does the work of several.
Materials Needed
- Yarn: Fine (2) weight yarn, approx. 800 yds total — 500 yds cobalt (A), 300 yds orange (B)
- Hook: 3.75 mm (F/5)
- Notions: Tapestry needle, stitch marker, one button (about 1" / 25 mm) to fit the buttonhole, tape measure, scissors
- Finished size: 25" wide x 67" long (circumference); button tab 4" wide x 6" long
Abbreviations
- ch — chain: make a loop of yarn and pull it through the loop on your hook.
- dc — double crochet: yarn over, insert hook in stitch, pull up a loop, yarn over and pull through two loops, yarn over and pull through the last two loops.
- sc — single crochet: insert hook in stitch, pull up a loop, yarn over and pull through both loops.
- sl st — slip stitch: insert hook in stitch, yarn over and pull through both the stitch and the loop on your hook.
- sk — skip: miss the stated number of stitches without working into them.
- sp — space: the gap made by a chain (for example, a ch-2 sp).
- beg — beginning.
- st(s) — stitch(es).
- rnd — round: a complete circuit worked in the round.
- rep — repeat.
Gauge
23 dc x 9 rows = 4" (10 cm). Work a small swatch in double crochet and measure a 4" section in both directions; if you have more stitches than 23, go up a hook size, and if you have fewer, go down.
Tips Before You Start
- Count your 144 stitches after Round 1 and place a stitch marker at the join — an even stitch count keeps the tube from twisting and keeps your stripes lined up.
- When you join the starting chain into a ring, check carefully that the chain is not twisted before working Round 1; a twist here cannot be fixed later.
- Carry or fasten off colors neatly at each stripe change, and keep the joins at the same point of the round so the color changes form a clean vertical line.
- Because the cowl is long, work in good light and check the length every few stripes against your tape measure so you end on a complete orange stripe.
Step-by-Step Instructions
Cowl (worked in the round as a long tube)
Set-up: With A, ch 144, join with sl st to first ch to form a ring, being careful not to twist.
Rnd 1: Ch 2 (counts as first dc), dc in each ch around, join with sl st to top of beg ch-2 (144 dc).
Rnds 2-5: Ch 2, dc in each st around, join (144 dc). Fasten off A.
Change to B.
Rnds 6-9: Ch 2, dc in each st around, join (144 dc). Fasten off B.
Stripe pattern: Rep Rnds 2-9 (4 rows A, 4 rows B) until piece measures 67" from beg, ending with a B stripe. Fasten off.
Button Tab (make 1, worked flat)
Set-up: With A, ch 20.
Row 1: Dc in 3rd ch from hook and each ch across, turn (18 dc).
Rows 2-6: Ch 2, dc in each st across, turn (18 dc). Do not fasten off.
Buttonhole row: Ch 2, dc in next 7 sts, ch 2, sk 2 sts, dc in next 7 sts, dc in last st, turn (16 dc, 1 ch-2 sp).
Next row: Ch 2, dc in each st and ch-2 sp across, turn (18 dc).
Next 2 rows: Ch 2, dc in each st across, turn (18 dc). Fasten off.
Edging
Edging rnd: With B, work 1 rnd sc evenly around entire outer edge of cowl, join with sl st to first sc. Fasten off.
Assembly and Finishing
Fold the cowl in half lengthwise to form a loop. Position the button tab at one end of the cowl, centered on the width, with the buttonhole end extending beyond the edge. Sew the tab securely to the cowl using A. Sew the button on the opposite end of the cowl so it lines up with the buttonhole. Weave in all ends on the wrong side, then block lightly to measurements (25" wide x 67" long), pinning the edging flat and letting the piece dry fully before wearing.
Pro Tips and Variations
- Swap the stripe colors for any two shades you love, or work wider 6-row stripes for a bolder look — just keep the total length at 67".
- Add a second buttonhole and button if you want more styling options, such as a shorter doubled cowl or a closer-fitting hood.
- For a warmer version, hold two strands of fine yarn together and go up a hook size, checking gauge as you go.